Skip to content
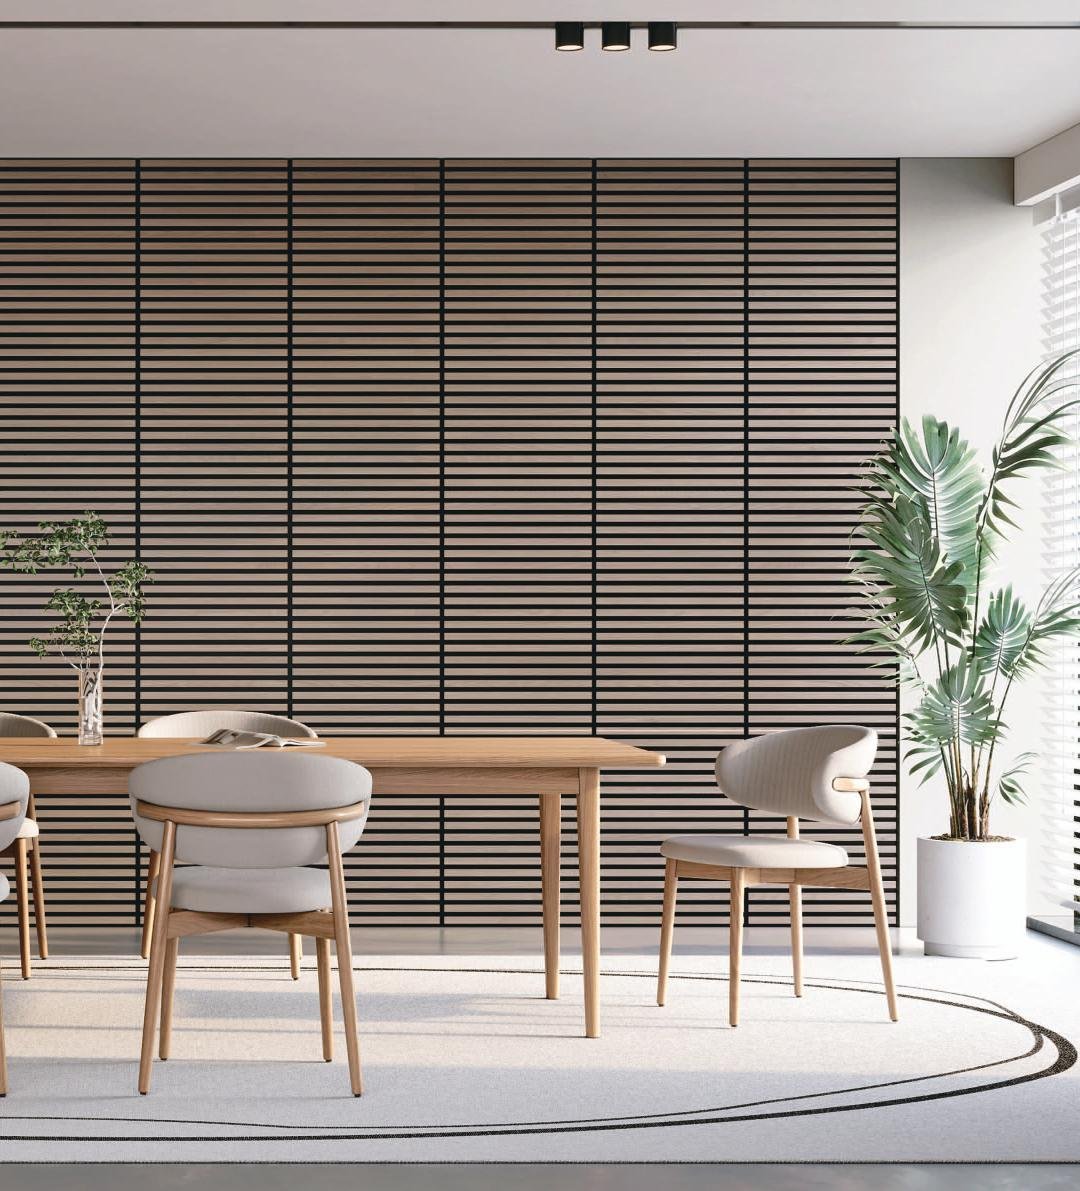
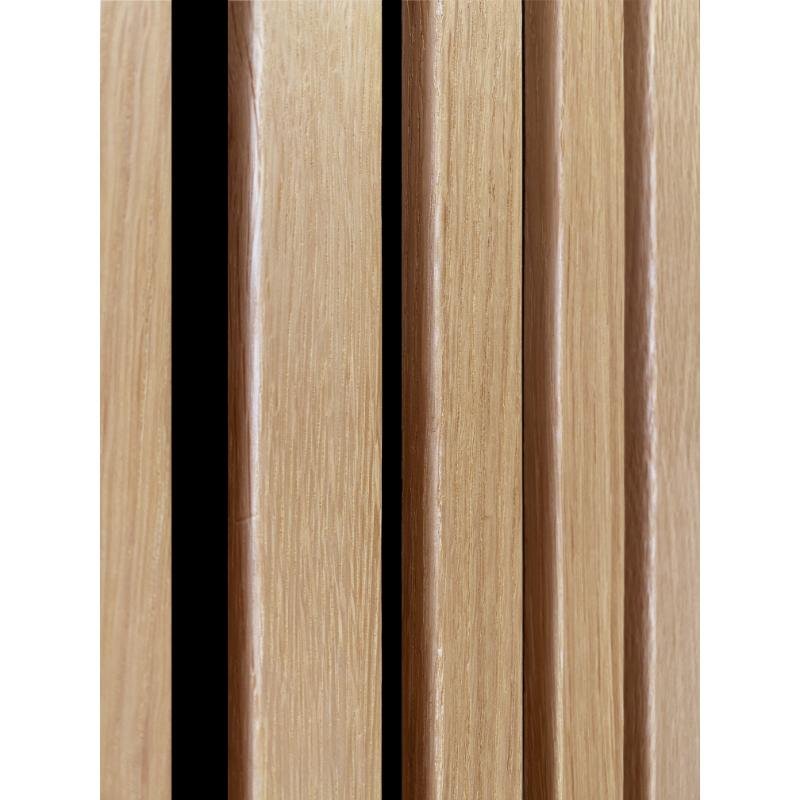
Acoustic wall panels are not only functional but also stylish—perfect for improving sound quality in homes, offices, and commercial spaces. The good news? They’re also easy to install.
Whether you’re using PET panels for acoustics or MDF panels for a decorative wall, this guide will walk you through the essential steps and tools you need.
1. Tools and Materials You’ll Need
Before you begin, make sure you have the following:
- Laser level / measuring tape
- Utility knife (for PET) or saw (for MDF)
- Caulking gun and construction adhesive
- Double-sided tape (optional for PET panels)
- Screws / nails (for MDF panels)
- Cleaning cloth and gloves
- Mounting clips (optional for removable systems)
Tip: Always wear safety gloves when cutting MDF or using adhesives.
2. Prepare the Wall Surface
Proper surface preparation ensures long-term durability and flat installation:
- Clean the wall surface of dust, grease, and moisture
- Repair cracks or holes
- Ensure surface is dry and flat
- Mark panel placement using a level or chalk line
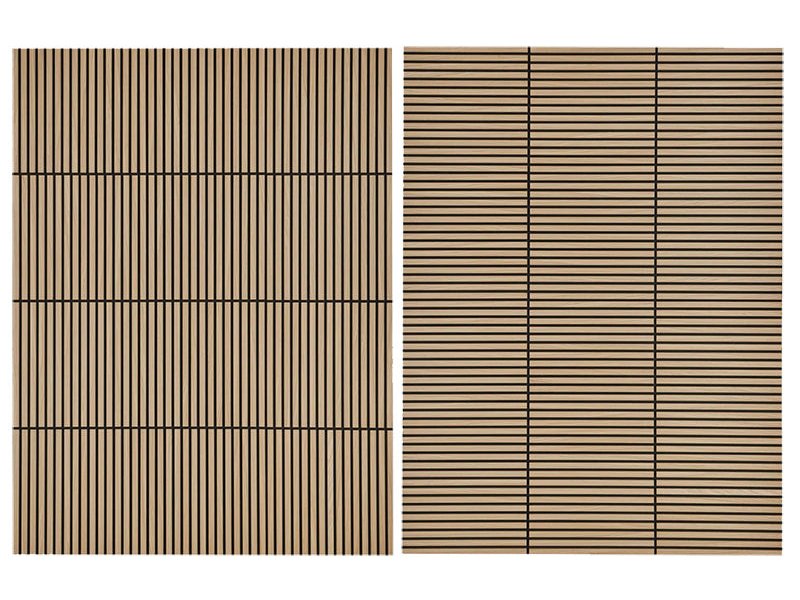
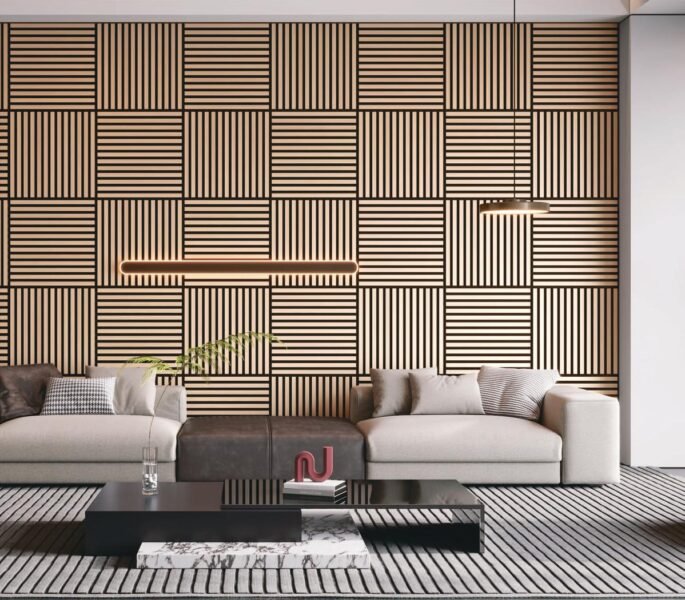
- For patterned or slatted panels, plan the layout in advance to avoid gaps or misalignment.
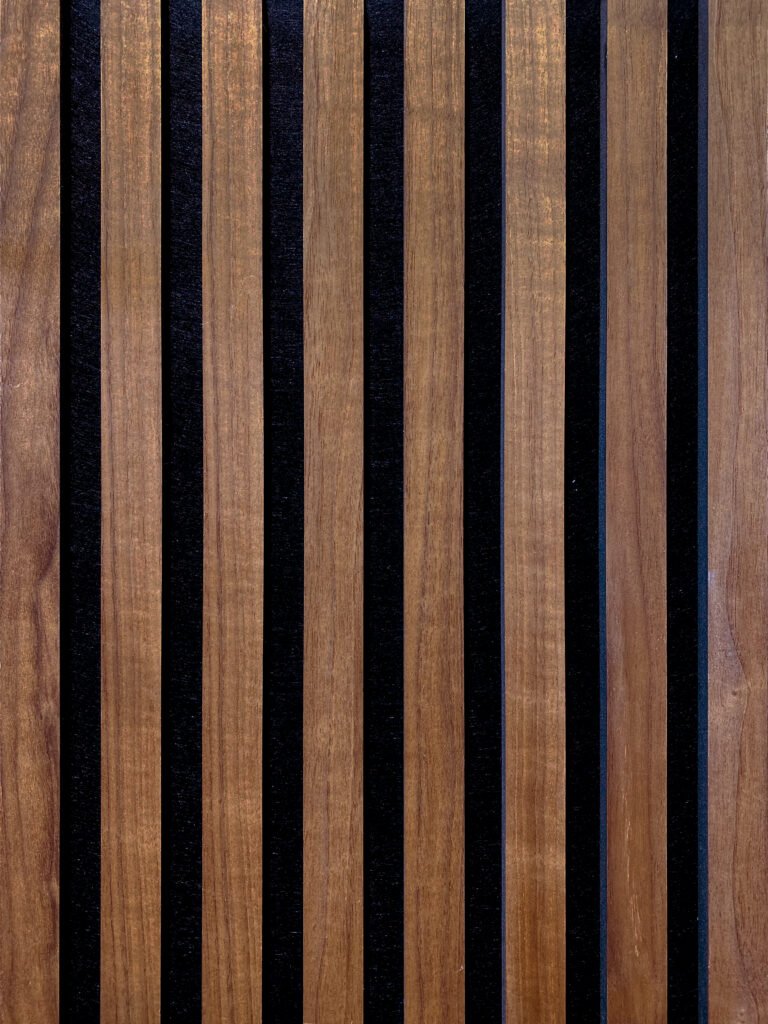
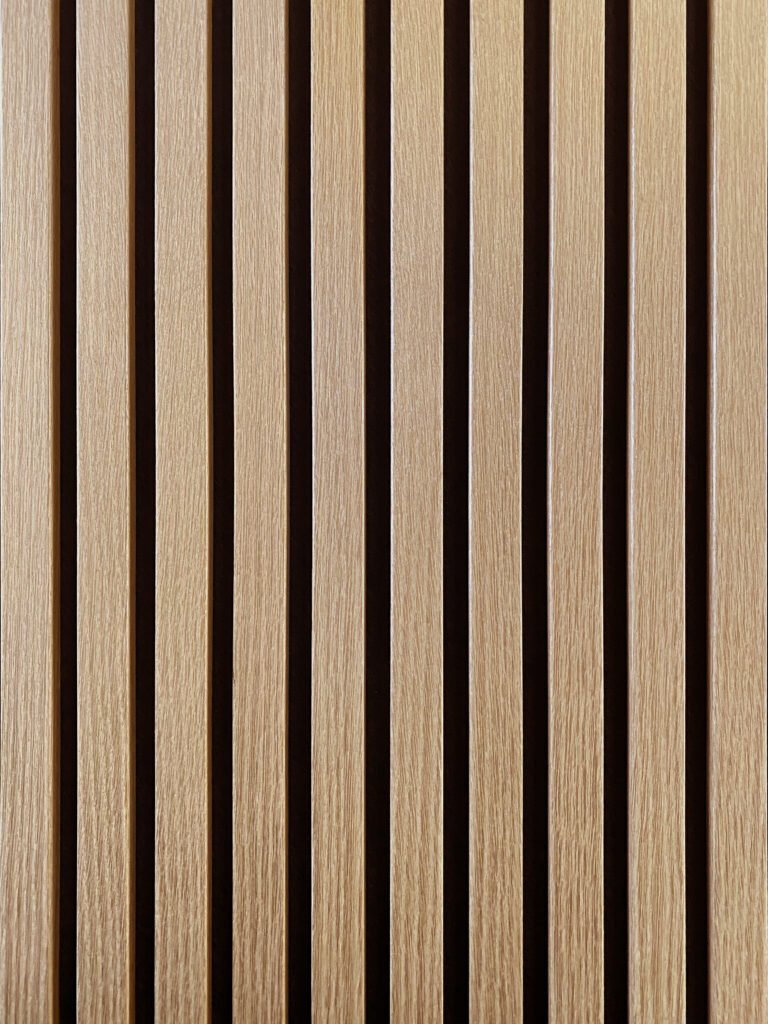
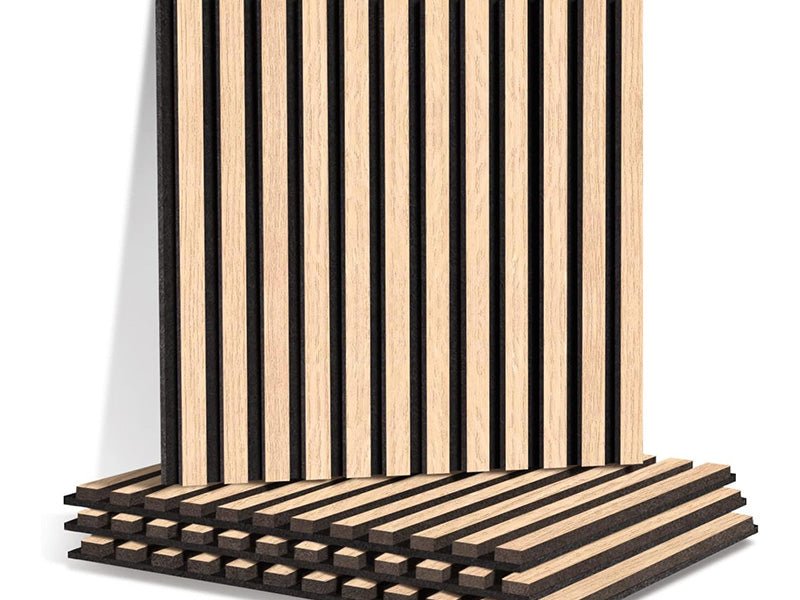
3. Installation Methods by Panel Type
PET Acoustic Panels
Lightweight and flexible, PET panels can be installed with:
- Construction adhesive
- Double-sided foam tape (for temporary or rental use)
Steps:
- Apply adhesive in a zigzag pattern to the back of the panel
- Press panel onto wall and hold for 10–15 seconds
- Use level to adjust alignment
- Continue row by row, keeping gaps consistent
Optional: Add finishing edge trims for a cleaner look.
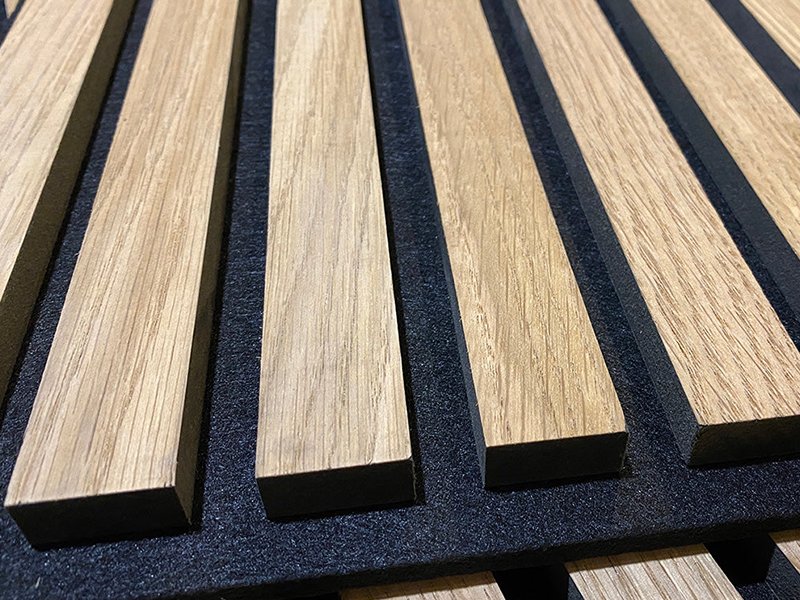
MDF Decorative Wall Panels
Heavier and rigid, MDF panels require:
- Adhesive + nails/screws for permanent installation
- Clip system (optional) for hidden mounting
Steps:
- Pre-drill panel holes for cleaner screw finish
- Apply adhesive to back in grid pattern
- Mount panel with screws through corners or grooves
- Use wood filler to cover screw heads if visible
- Add matching joint trims or seamless edge treatment
4. Tips for Seamless Results
- Start from the center or bottom corner, depending on design
- Use a rubber mallet to gently press panels into adhesive
- Cut panels with care using the correct tool (blade for PET, circular saw for MDF)
- Install in dry indoor conditions only
- For large panels: get assistance or use a temporary support frame
Pro Tip: Leave 2–3mm expansion gap for MDF panels, especially in areas with humidity.
5. Maintenance and Care After Installation
- Dust regularly with dry cloth or vacuum with brush head
- Avoid harsh chemicals—use damp cloth for spot cleaning
- In case of damage: PET panels can often be removed and replaced easily
For MDF panels: patch and repaint or replace if needed.
Professional Look, DIY Simplicity
Installing acoustic wall panels doesn’t require a professional crew—just the right tools and method. At MasterWallPro, we design our PET and MDF panels with easy installation in mind.
Whether you’re an architect, contractor, or end-user, you can achieve outstanding results with our products in just a few hours.